Lead Pipes
Do You Have Lead Pipes in Your Home? Water mains in the UK are not…
Read more24 hr Emergency Callout
Blog
Do you know how to fix your drain if it is leaking? Here at Coastal Drains we are passionate about equipping people with the knowledge to tackle any drainage problems they may face.
Water leaks can waste a lot of water and can also rack up your water bill if you do not act quickly and fix the problem. Below, we have written out our step-by-step guide to effectively fix a leaky drain. We hope that you find it useful and informative.
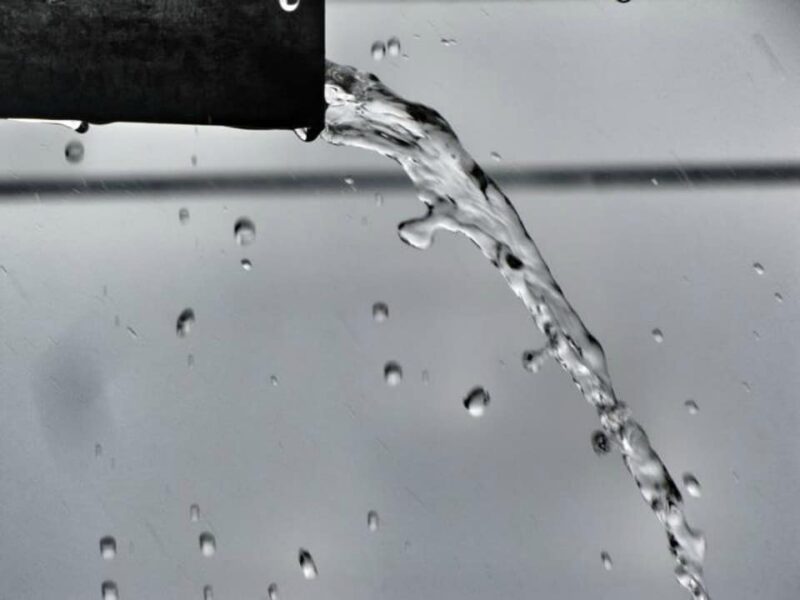
When searching for the cause of leak, the best option is to look for discolouration stains on the ceilings, walls and floors of your house. These are the most common places where leaks will be causing visible damage. However, be aware that the exact location and cause of a leak may not be immediately obvious, as the leak may have started in one location and travelled to the next. Leaks can sometimes travel for a distance before they drain down and create some visible damage so it is worth being thorough when searching for the cause.
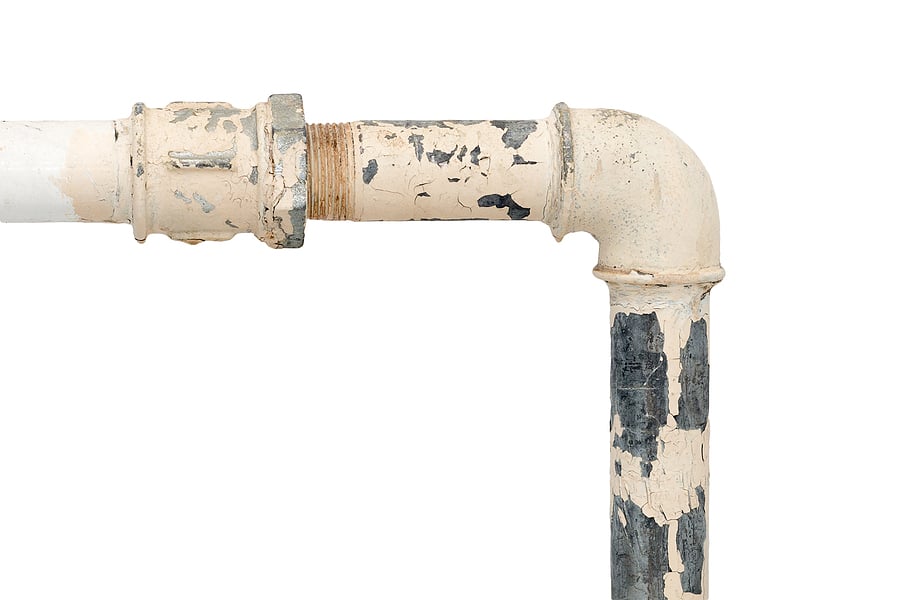
Once you have determined where the leak is coming from, you are ready to fix the problem. Disassemble the drain by using a plumber’s wrench. Be sure to turn off the water before you do this, otherwise you will get absolutely drenched! Be sure to check the pipes for rust and corrosion. If a pipe is corroded or cracked, you will need to find a replacement.
This step is crucial and one that people often overlook. Once you have taken the entire drain assembly apart, then you will need to clean each piece thoroughly. Set each piece in a bucket of warm soapy water to soak before scrubbing them clean. If there is any dirt, debris or putty left on the pipe pieces when you being to reinstall them, it will interfere with the new putty and cause another leak. Therefore, thoroughly cleaning all pipe pieces is extremely important.
Once everything is clean and has dried properly, you can begin reinstalling the drain. For each connection that you have, apply a thick coating of plumber’s putty before reattaching the pipe to the fittings.
Often, when reassembling the drain, people assume that the tighter they make the connection, the less likely a leak is to occur. But this is not the case. In fact, over-tightening often worsens the problem. Be sure to gently re-assemble the pipes, being careful not to over-tighten them or accidentally cause any further leaks.
Once everything is back together, be sure to test that it all works. Turn the water on and let it run for a while to check for any more leaks. If you find any, it might be because the putty was not applied correctly or you have made the connections too tight. However, if there are no leaks, congratulations you have just fixed your leaky drain!
If you have a drainage problem that you do not feel equipped to deal with yourself, please do not hesitate to give us a call. We would be more than happy to help.
Here at Coastal Drains, we have a fantastic history of unblocking drains throughout the Brighton area. The majority of the houses in Brighton are Victorian, meaning we frequently get called out to fix drainage problems. Our testimonials on Check-a-Trade and elsewhere attest to the standard of our work, and we take pride in doing a thorough cost-effective job. If you would like to find out more about the kind of drain repair services we offer, check out our website.
If you live in Brighton or Hove, we have a team of experts on hand to get to your property quickly, diagnose and fix the problem effectively. Call us today for free advice and a quote.

Coastal Drains cover East and West Sussex along the south coast of England.*If you would…
Read more
Brighton is a wonderful city and we are fortunate enough to do a lot of…
Read more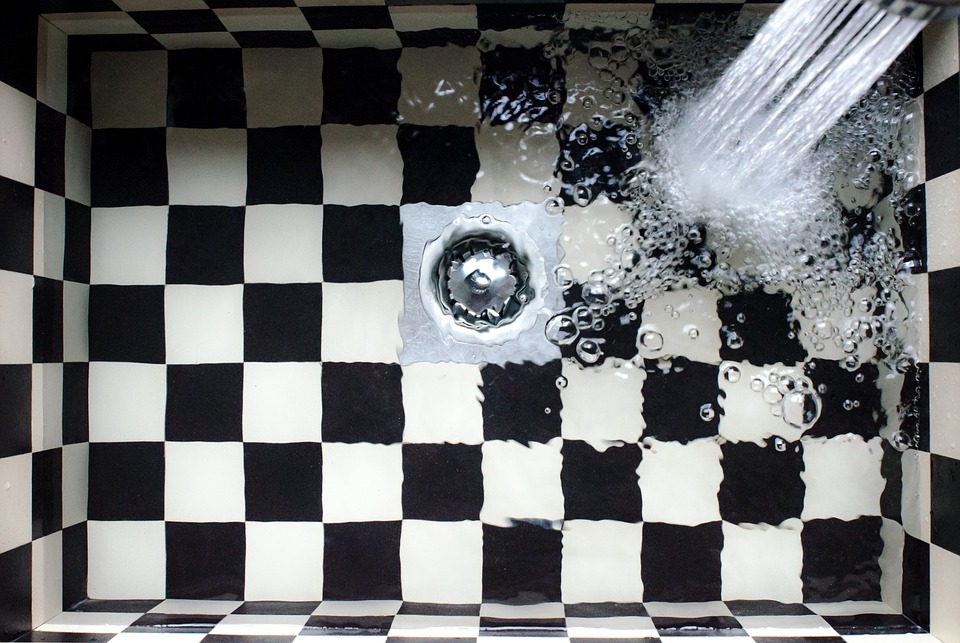
The best way to maintain a healthy drainage system is through prevention. Generally, if you…
Read more