Lead Pipes
Do You Have Lead Pipes in Your Home? Water mains in the UK are not…
Read more24 hr Emergency Callout

Blog
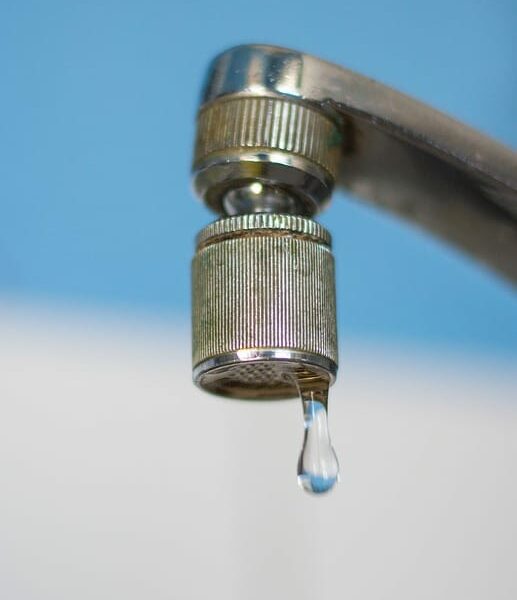
Have you ever switched the tap on in your bathroom to wash your hands, only to hear a dripping sound once you turn the tap off? Dripping when you’re not running your tap is a telling sign of a leak and something you should fix straight away.
What’s more, an annoying dripping tap can keep you awake at night, waste a significant amount of water, and turn into a full-blown problem if not addressed properly. So, to save you time, money, and stress, we thought we’d advise you on how to fix your leaky bathroom tap.
Always begin by turning off the water supply, otherwise you could have a lot of water filling up your bathroom in a very short space of time. Run your taps completely until the water stops flowing and you can be sure all the water has been bled from the systems completely. Once you’re sure all the water has been successfully turned off, you can begin your plumbing repairs safely.
Put the plug in or cover the plug hole with a piece of material. This very simple step is one of the most commonly overlooked when it comes to plumbing jobs and it can cause significant aggravation if you forget – such as losing screws and parts down the drain. So, save yourself some time and cover the plug hole.
Take apart the tap a bit at a time, remembering to place the parts in order on the side so you don’t forget how it all goes back together again.
The next step is to remove any decorative part of the faucet. Simply prying with a flat-head screwdriver should help remove this easily. Underneath each knob, there is a screw that mounts the handle to the stem. You can easily unscrew this and gently remove it.
Find the screw that holds the tap together because this is what you need to loosen to get inside and make repairs. The screw is commonly found underneath the decorative hot and cold taps, so take a look.
Begin with the washers. The washers on your sink can sometimes be an agitating source of your leaking tap but are reasonably easy to fix. The majority of leaking tap issues can be fixed simply by replacing the washers.
When replacing washers, there are three types you need to be aware of: the o-ring, body washer, and jumper valve. Remove your washers by using a spanner to unscrew the tap bonnet and remove the headgear to find the washer.
To replace your washers, ensure you get the right size. If in doubt, simply take your washers to the store so the professionals can match yours with a suitable replacement.
Once you’ve taken apart your tap, you should be able to see the valve. Grip the valve with your adjustable spanner and turn it until it is loose enough to be removed easily. Then, pop your replacement cartridge in and tighten it back up before putting the tap back together.
If your rubber washer is what’s causing the problem, use your adjustable spanner to grip the valve and loosen it to be removed and then slide the old rubber washer off, and replace it with a new one. Put the valve back in place, tighten it, and put your tap back together.
Replace the O-ring. This is a bigger washer found right at the bottom of your tap spout and over time it can weaken, becoming less effective at doing its job. You will need to replace the O-ring to stop the dripping.
Unscrew the screw at the base of the taps spout and then lift the spout off carefully. You should be able to see the O-rings at the base. Using your flathead screwdriver, loosen the O-ring and slide it off. Put the replacements O-ring on in its place and reattach the spout.
If, after all your attempts, your taps are still leaking, it is time to call in the professionals. You can also call in the professionals if you’re feeling bewildered by carrying out the repairs by yourself or if the repair is more difficult than you initially anticipated.